Have you ever wondered how soap is made from scratch?
Bueno, para ser honesta, no es tan complicado. ¡Mira el video explicativo AQUÍ!
Los ingredientes están disponibles en cualquier supermercado, si deseas que sea sencillo. ¡Pero espera! ¡todos los jabones no son iguales! La calidad varía mucho según la receta.
La forma en que se siente en tu piel mientras te duchas, si tu jabón hace espuma correctamente o si es viscoso, si la barra es demasiado suave, dura, acondicionadora, limpiadora, duradera, etc., todo depende de los ingredientes.
Es como cocinar un plato: puedes cocinar espaguetis con salsa de tomate enlatada, o puedes hacer pasta gourmet con los ingredientes y especias más frescos. ¡La decisión es tuya!
Entonces, ¿cómo no equivocarse y hacer una barra de jabón de buena calidad?
En mi caso, simplemente hice muchos ensayos y errores, y regalé muchos obsequios a mis amigos para que me dieran su opinión. Pasé bastante tiempo leyendo y viendo videos, y también tomé un curso en línea para asegurarme de que entendía la química detrás del proceso. Para mí era importante hacerlo bien, ya que mi objetivo era vender mi jabón y que mis clientes volvieran por más.
Para que sea muy simple, para hacer un jabón sólido necesitas:
Hidróxido de sodio + agua (destilada) + grasa (aceites y / o mantequillas).
Puedes usar prácticamente cualquier grasa que quieras, aunque no entraré en detalles sobre cómo algunas personas usan grasas de animales muertos en su jabón (¡que asco!!).
Algunos usan un tipo de aceite (el jabón de Castilla por ejemplo está hecho con 100% aceite de oliva). Algunos optan por ponerse fancy y agregan todo tipo de aceites y mantecas. Al fin de cuentas, todo depende de que te guste más. Solo tenga en cuenta que los diferentes aceites tienen diferentes propiedades en tu producto final. Aquí hay una muy buena tabla que los resume para que puedas tomar la decisión correcta para tu jabón.
En Jungle Blends, utilizamos una mezcla de aceite de oliva, aceite de coco panameño producido en Bocas del Toro, manteca de karité y manteca de cacao.
Para saber cuánto hidróxido de sodio y agua usar con tus aceites, entre tu receta en una calculadora de lejía. Mida siempre todo en gramos (no uses onzas o ml), ya que los gramos son la forma más precisa de medir los ingredientes. ¡Cualquier báscula de cocina básica servirá!

Una vez que tengas todos los ingredientes medidos, vierta el hidróxido de sodio en el agua (¡nunca al revés para evitar un efecto volcánico!). Vierta lentamente para evitar salpicaduras y, por supuesto, use sus guantes y gafas para evitar cualquier contacto con el agua de lejía. Tenga cuidado con los vapores, trate de hacerlo cerca de una ventana abierta o en una habitación grande y no los respire. Revuelva lentamente para ayudar a que se disuelva más rápido y déjelo enfriar un poco. Una vez que el agua de lejía esté clara, puedes mezclar la solución de lejía con los aceites.
¡Es hora de usar tu batidora de mano!

Aquí licúas hasta que la emulsión comienza a espesarse, similar a la consistencia de un pudín.
¡En este momento, puedes agregar tus colores o aceites aromáticos si lo deseas! Tenga en cuenta que estos también tendrían que medirse, pero dejaré esto para otra publicación, ya que complica un poco las cosas. Te recomendaría que lo hagas simple y llanamente hasta que encuentres una receta que te guste y evites desperdiciar ingredientes costosos durante tu ensayo y error.
Una vez que hayas alcanzado la consistencia deseada, puedes verter la masa en el molde y ¡listo! En 24 horas podrás cortar tu jabón. No esperes demasiado para cortarlo, o puede ponerse demasiado duro.
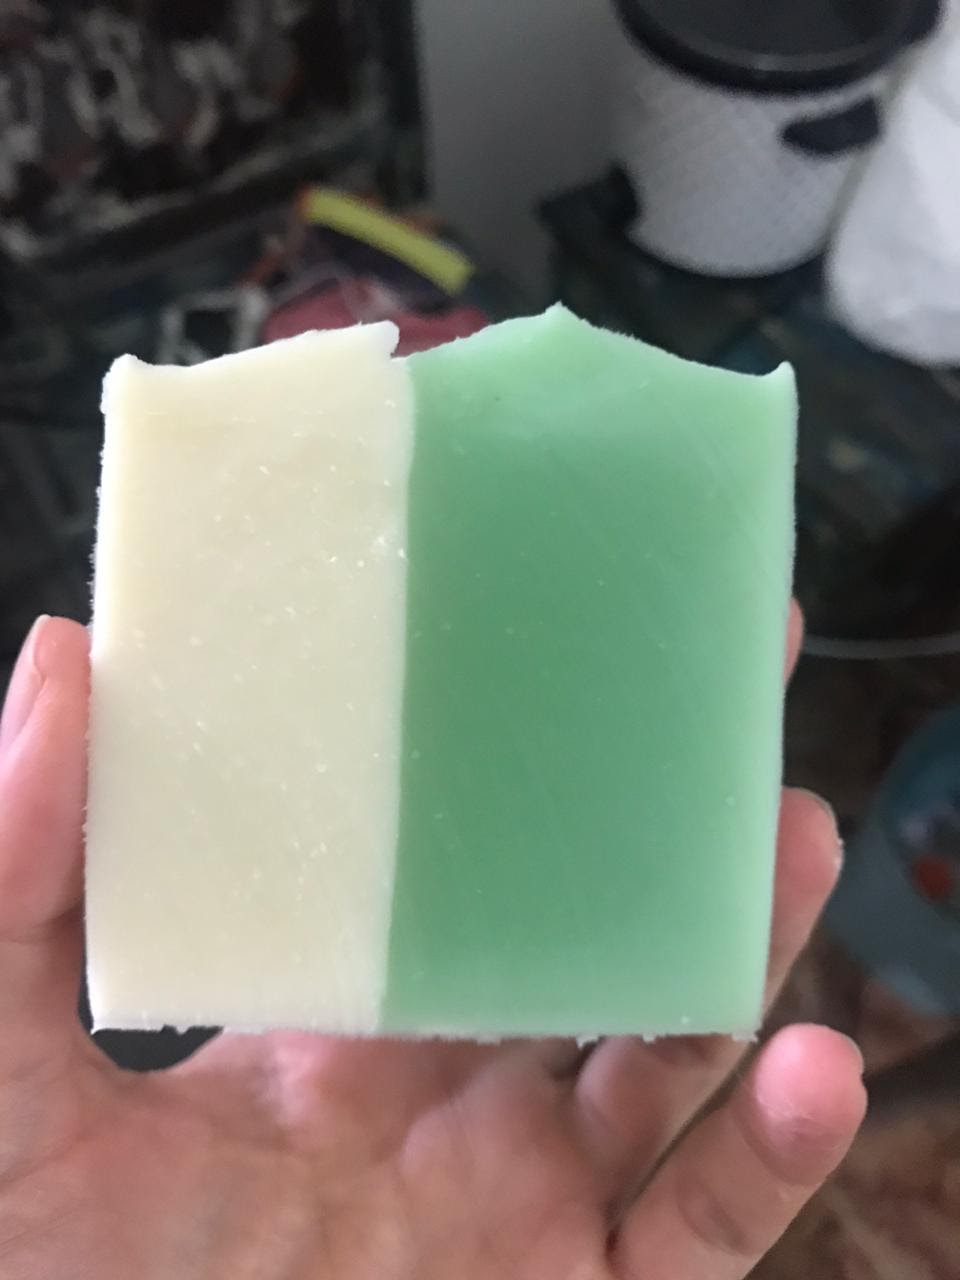
En la imagen de abajo, hice un divisor con cartón, como un experimento y ¡estaba bastante satisfecha con el resultado!

En teoría, podrías usar tu jabón después de 48 horas, ya que la saponificación se completará para entonces (lo que significa que la lejía y los aceites se habrán convertido completamente en jabón), pero deberá dejar que el jabón se cure durante aproximadamente 4 semanas para obtener el mejor resultado.

¡Me gustó bastante el resultado de este! ¿Qué opinas?
Hágame saber cómo te fue y, si tienes preguntas, no dudes en dejarlas en los comentarios abajo.
Have you ever wondered how soap is made from scratch?
Well, to be honest, it’s not that complicated. Check out our explanatory video HERE.
The ingredients are readily available in any supermarket, if you want to keep it simple. But hold up! Soap does not just equal soap! The quality greatly varies according to your recipe.
The way it feels on your skin while you shower, whether your soap is lathering properly or whether it’s slimy, whether the bar is too soft, hard, conditioning, cleansing, long lasting, etc. it all depends on your recipe. It’s just like cooking a dish – you can cook spaghetti with canned tomato sauce, or you can make gourmet pasta with the freshest ingredients and spices. It ‘s up to you!
So how do you get it right and make a good quality bar of handmade soap?
In my case it simply took a lot of trial and error, and lots of gifts to friends to give me feedback. I spent quite some time reading and watching videos, and also took an online course to make sure I understood the basic chemistry behind the process. It was important to me to get it right, since my objective was to sell my soap and have my customers come back for more.
To keep it very simple, in order to make solid soap you need:
Lye (sodium hydroxide) + water (distilled) + fat (oils or/and butters).
You can pretty much use any fat you like – although this blog is vegan guys, so I won’t get into how some people will use dead animals in their soap (urgh it makes my skin crawl just to think about it). Some people use just one oil (think Castille soap which is made with 100% olive oil). Some choose to get fancy and add all sorts of oils and butters. At the end of the day, it all comes down to how you like it best. Just keep in mind that different oils have different properties in your end product. Here’s a very good chart that sums them up so that you can make the right choice for your soap.
At Jungleblends, we use a blend of olive oil, locally sourced Panamanian coconut oil, shea butter and cacao butter.
To know how much lye and water to use with your oils, run your recipe through a lye calculator. Always measure in everything grams (not ounces or ml), as grams are the most accurate way to measure your ingredients. Any basic kitchen scale will do!
Once you have all your ingredients measured, pour the lye beads into the water (never the other way around to avoid a volcano effect!). Pour slowly to avoid splashing, and of course, wear your gloves and goggles to avoid any contact with the lye water. Be careful with the fumes, try to do this close to an open window, or in a large room and do not breathe them in. Stir slowly to help it dissolve quicker and let it cool a bit. Once the lye water is clear, you can mix the lye solution with the oils.
Time to use your stick blender!
Here you’ll blend until you reach trace, which is when your emulsion starts to get thicker, similar to a pudding like consistency.
At this point you can add your colors or fragrance oils if you’d like! Note that these would have to be measured as well, but I’ll leave this for another post, as it complicates things a little. I would recommend you to keep it plain and simple until you come up with a recipe that you like, and avoid wasting expensive ingredients during your trial and error.
Once you’ve reached trace, you can pour your batter into your mold and you’re done! In 24 hours you’ll be able to cut your soap. Don’t wait too long to cut it or it may get too hard.
In the below picture I had made a divider with cardboard, as an experiment and was quite pleased with the result!
In theory you could use your soap after 48 hours, as saponification will be completed by then (meaning the lye and oils will have completely turned into soap), but you’ll need to let your soap cure for about 4 weeks to get the best results.
I quite liked the outcome of this one! What do you think?
Let me know how your first time went, and if you have questions don’t hesitate to leave them in the comments below.